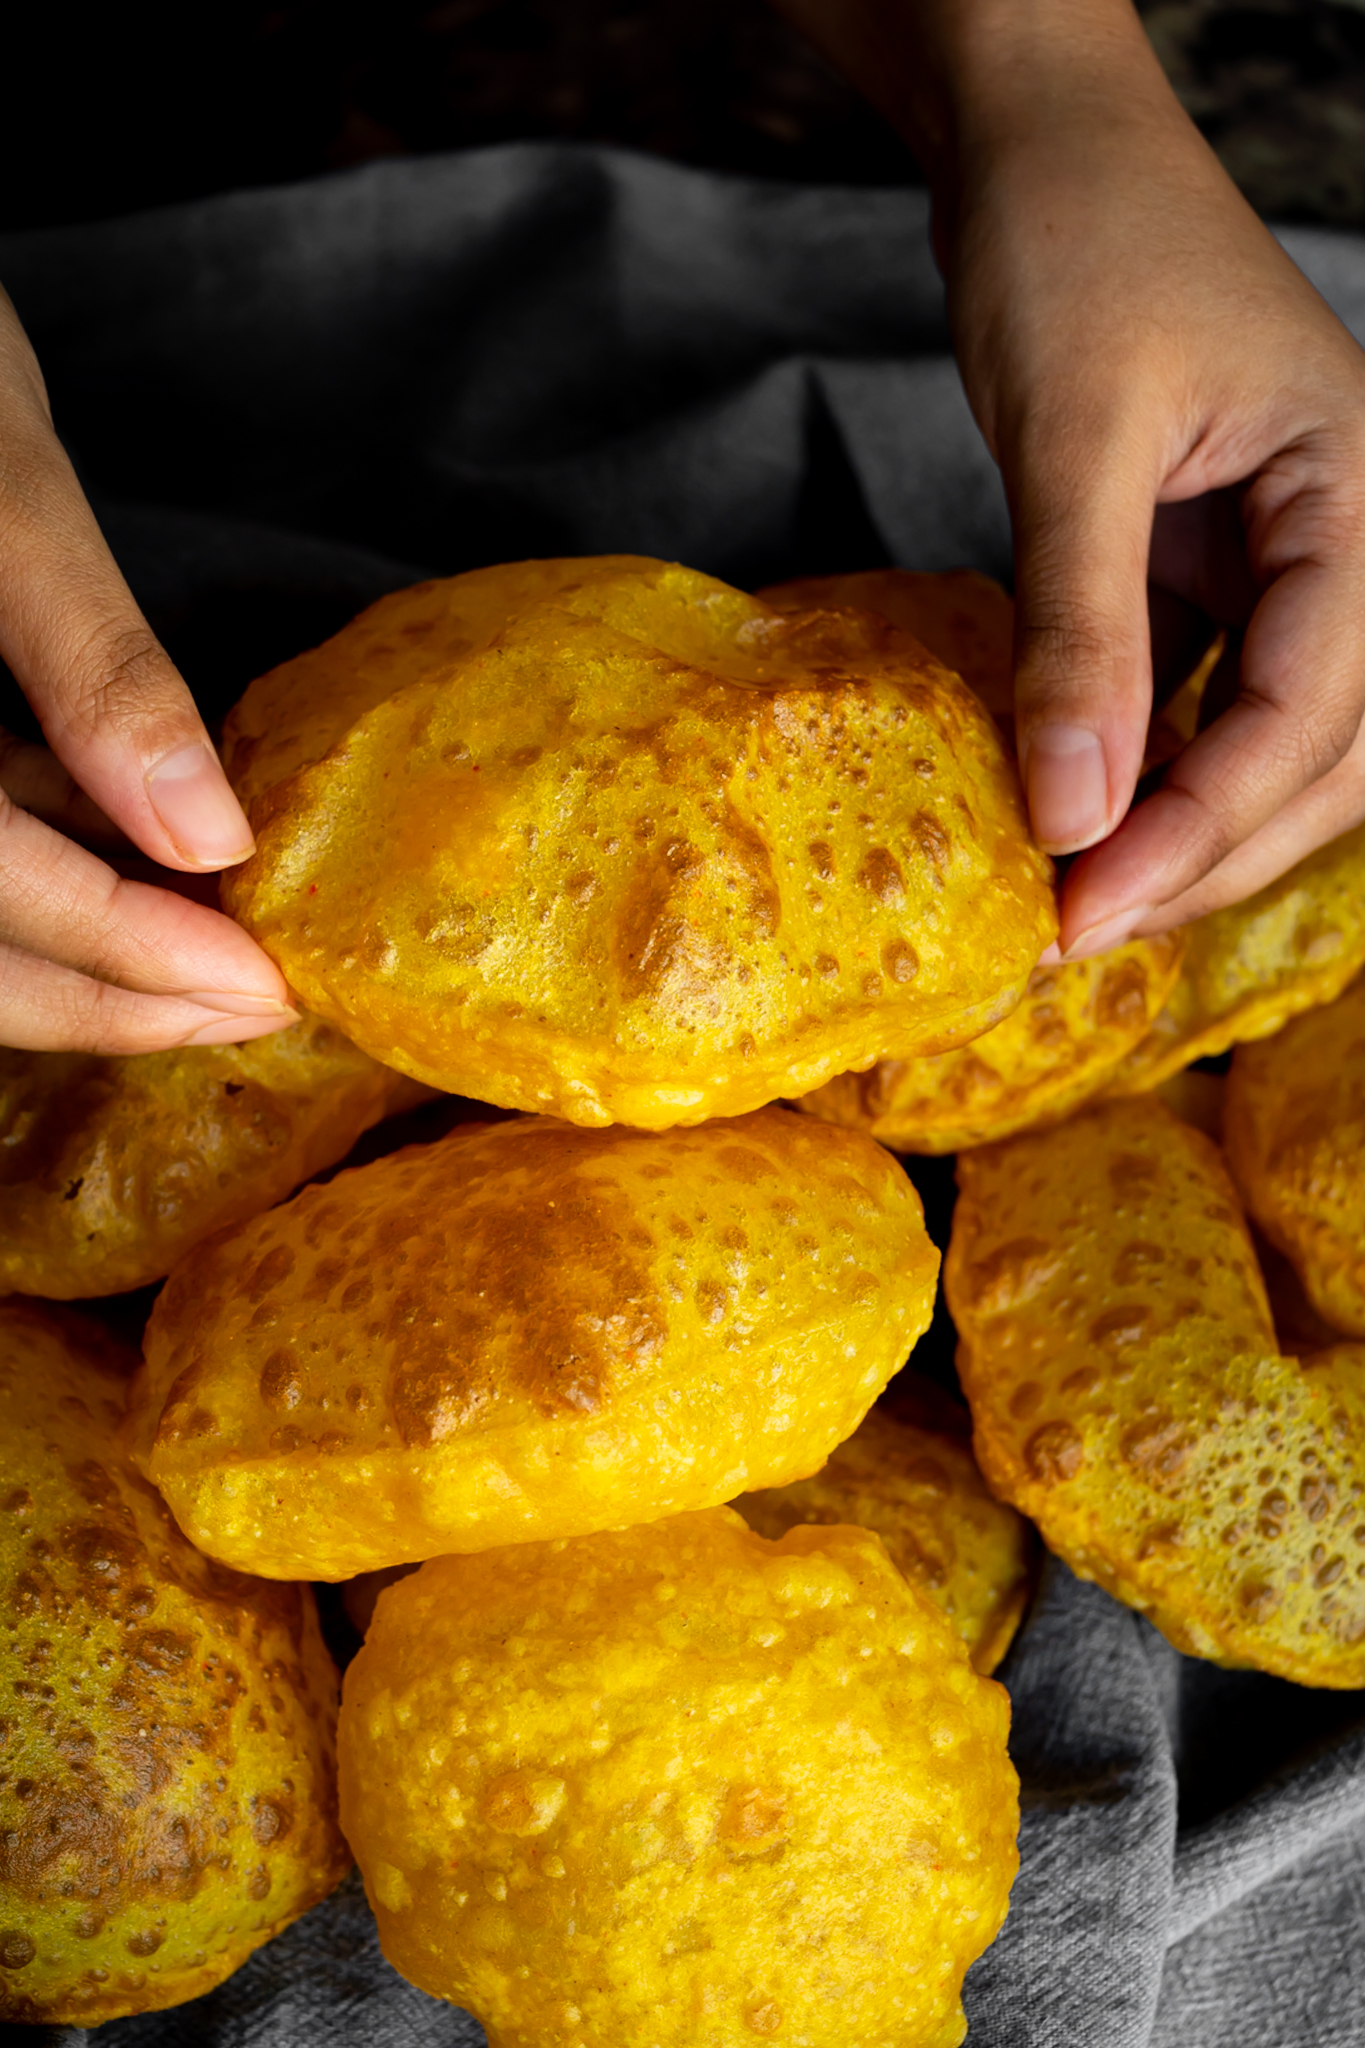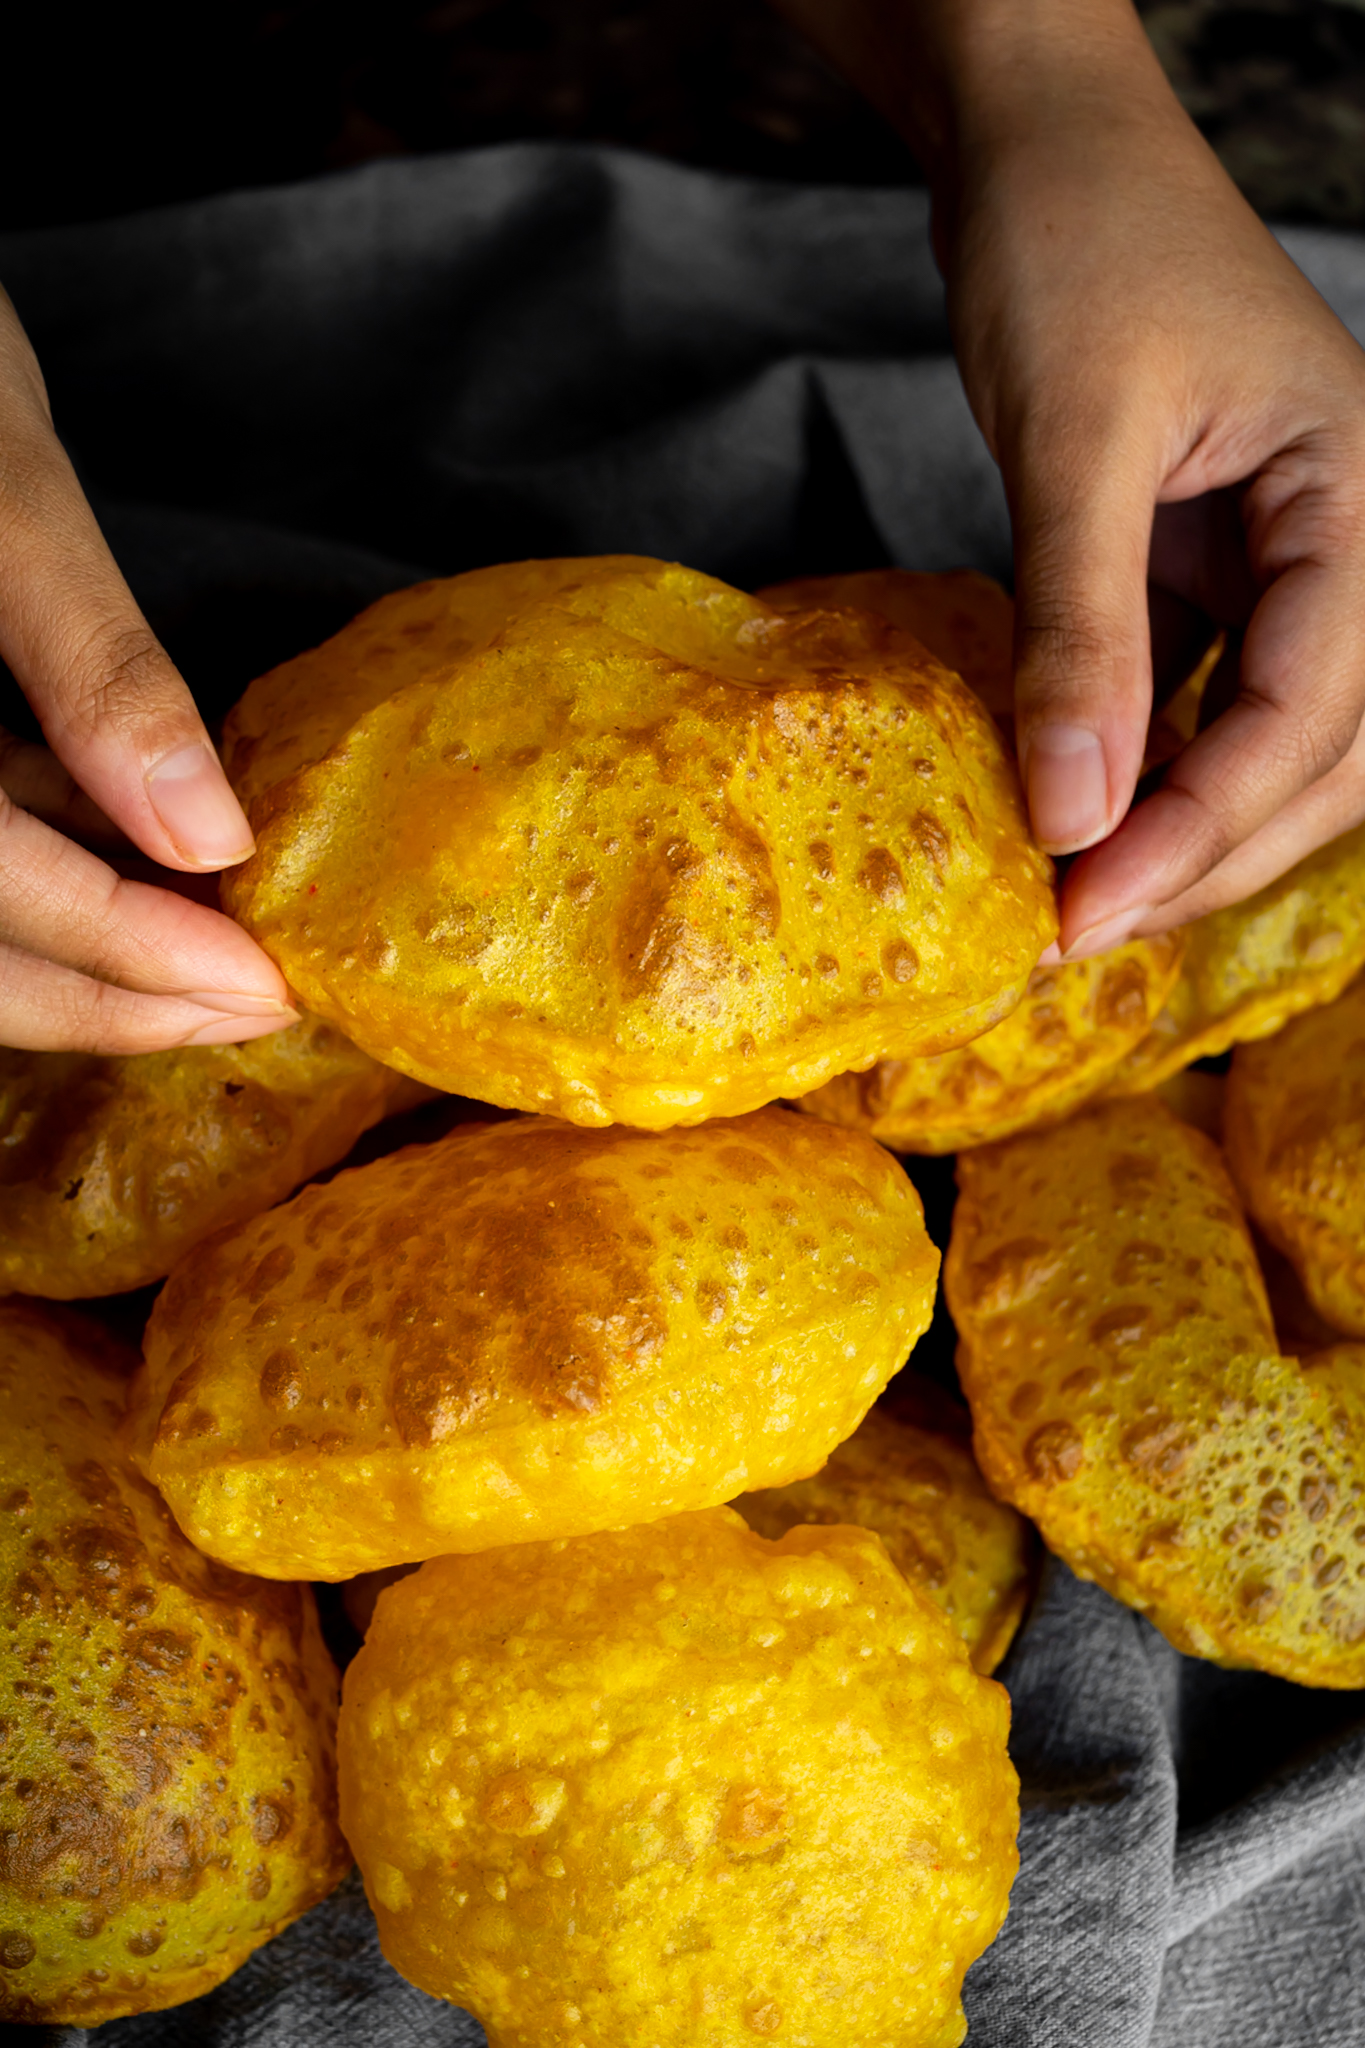
Puffy Masala Poori will forever be a wedding food in my eyes. Fried whole wheat flour bread with mild spices, a double layer and hollow middle.
The little circles of dough rise before your very eyes for a magical cooking experience — and an even more spectacular eating experience.
It’s Indian comfort food in a nutshell and a must-learn recipe if you’re looking to expand your repertoire of Indian bread beyond that of roti, naan and paratha.
If you can make Poori that rises like a balloon in hot oil, you’re a legend.
How to serve Puffy Masala Poori
Tear them apart and scoop up your favourite curries, both with sauces and without. My favourite accompaniment for Poori is Koru Bateta nu Shaak (a Gujarati-style dry potato curry).
However, I wouldn’t say no to a serving of Seeroh (semolina halwa) either. A cup of masala chai is mandatory with Poori in my home. We don’t make them often but when we do, they disappear within moments.
How to make Puffy Masala Poori: Video Tutorial
The best dishes to serve with Poori
Anything! I come from a Gujarati home, so simple vegetable curries are our forte. Growing up, I ate Poori with potato curry, Undhiyu (a mixture of seasonal Indian vegetables like aubergine, papdi, lilva, valor and muthiya. This is a very popular wedding menu combination in the Gujarati community.
Channa Masala. Either kabuli channa — white chickpeas or kala channa — black chickpeas marry well with Poori. A stir-fried dish of cabbage, carrots, mustard seeds and chillies called Sambharo is a mainstay, too.
My mother has always had a soft spot for cauliflower and pea curry with Poori. I can confirm that this combination is also supremely delicious!
Why is Poori a popular wedding food?
The shelf life is longer than that of other Indian breads. Rotli (chapattis), naan and paratha become stale after an hour or so. Poori are deep fried by their very nature.
The oil acts as a barrier, preventing them from turning hard and chewy when there are hundreds of people to feed and multiple dishes to prepare. You could say they’re an Indian caterer’s golden nugget.
How to store homemade Puffy Masala Poori
Poori can be kept in an airtight container at room temperature for 24 hours. They’re great the next day with masala chai. I always serve leftover Masala Poori at room temperature. Reheating in the microwave can make them super greasy!

Puffy Masala Poori: A helpful guide for delicious Poori
There can be a number of reasons why Poori fail to rise. Here are some of the most common reasons:
– The dough could be too hard or too soft.
– The dough was not rested long enough.
– They are rolled too thickly or too thinly.
– They are not rolled evenly.
– The oil is not hot enough.
Hard Poori can be a result of dough that was not bound with enough oil or if the water used was too cold. Hard Poori can also occur when the dough is not left to rest for long enough.
Use a combination of wholewheat flour, chickpea flour, semolina, oil and hot water as per my recipe below.
Burnt flour. If you roll Poori using flour, it will come away in the hot frying oil and burn. These speckles will cling to any subsequent Poori you make. Instead of using flour to assist in the rolling process, use a small amount of oil.
It is not recommended to reheat Poori. They are best eaten hot as soon as they are made. If you reheat them, they will begin to release oil and become greasy. Store cooked Poori at room temperature and eat within 24 hours.
Yes.
My recipe for Poori is not gluten free. You can try it using your favourite gluten-free flour blend but the results may be different. If you are follow a gluten-free diet, you will also need to omit the semolina and asafoetida.
Simply leave out the chilli powder, turmeric and asafoetida in this recipe for plain Poori.

How to make Puffy Masala Poori
Time needed: 1 hour and 5 minutes
HOW TO MAKE AMAZING POORI AT HOME
- Make the dough
Make a semi-stiff dough that’s smooth to the touch. To do this, you’ll need whole wheat flour (atta), chickpea flour, semolina, oil, salt, chilli powder, asafoetida, turmeric and hot water. Knead for 8-10 minutes. Cover with a damp tea towel and rest for 30 minutes.
- Roll the dough into small portions
Use firm pressure to roll the dough into small portions between your palms. They should be no larger than a table tennis ball. Apply oil to the surface of the dough to ensure it doesn’t dry out or form a skin.
- Roll the Poori out thinly and evenly
Try to be as careful as you can to roll the poori thinly and evenly. Don’t use extra flour, instead apply oil to prevent sticking. Flour will burn in the oil when frying. The Poori needs to be around 1.5mm in thickness and around 8-10cm in diameter depending on the size of your dough. I recommend forming 16-18g portions.
- Fry the poori in very hot oil
The oil needs to register 200C/400F on a thermometer. It must be very hot for the Pooris to rise. Pour oil over the top of the poori using a slotted spoon. Each Poori should take only 25 seconds to fry on both sides. Don’t overcrowd the oil and keep the temperature constant.
- Drain the Poori
Remove the Poori from the hot oil using a perforated spoon and drain on kitchen towel. Serve within an hour for puffy crispy Pooris. They will soften and deflate as time passes.
Sharing a direct link to recipes is highly encouraged. Please don’t copy and paste, or share screenshots of my recipes to social media pages and groups without my permission. Thank you.
Puffy Masala Poori Recipe

Equipment
- Deep pot or wok for deep frying
- Perforated spoon or slotted spoon
- Rolling pin
Ingredients
- 500 g whole wheat chapatti flour (atta)
- 50 g chickpea flour (besan)
- 30 g coarse semolina
- 1/2 tsp ground turmeric
- 1/2 tsp chilli powder
- 1/4 tsp asafoetida
- 2 tsp fine salt
- 3 tbsp any flavourless cooking oil (I used rapeseed oil)
- 400 ml hot water
- Oil for deep frying
Instructions
To make the dough:
- In a large bowl, combine the chapatti flour, chickpea flour, semolina, turmeric, chilli powder, asafoetida and salt.
- Make a well in the centre of the flour mixture and add the oil. Pour the water in and stir with a spoon until a shaggy dough is formed.
- Once the mixture is cool enough to handle, use your hands to knead into a ball.
- Turn the dough out onto a clean work surface and knead for 8 minutes. It should be firm, smooth and elastic. Don't worry if the dough appears sticky at first, just knead well for the full 8 minutes. You can add a teaspoon more oil at the end and knead briefly if the dough feels very sticky. It will become less sticky as it rests.
- Transfer the dough to a bowl and cover with a damp tea towel. Rest for 30 minutes.
- Divide the dough into small portions and roll each one into a smooth ball. You can brush them with a little oil to stop a skin forming on the outside. Cover any dough you're not working with with a damp tea towel – we don't want it to dry out as this could prevent the poori from rising. Each portion should be about the size of a ping pong ball, weighing around 16g if you're using a scale.
- Place a ball of dough onto a wooden rolling board or a clean work surface. You can grease the surface with a little oil but don't use flour as this will burn in the oil as it cooks, leaving your oil speckled with burnt flour. Use your fingertips to press the dough out to around 5cm in diameter.
- Heat the oil to 200°C/400°F.
- Roll out around 8 pooris whilst your oil is heating. I like to do them in batches like this if I'm making these on my own. If you have someone to help you, one person can roll whilst the other person does the frying. If you're not a quick roller, you can roll out fewer than eight as the surface of the poori shouldn't dry out.
- Use a rolling pin to roll the dough from top to bottom once. Give the dough 1/4 turn (90°) and then repeat rolling from top to bottom. Continue to turn and roll the dough in this way until you have a circle around 8-10cm in diameter, 1.5mm thick. Strive for an even surface.
- Fry the poori in small batches, taking care not to overcrowd the oil otherwise the oil temperature may drop. The oil should be smoking hot when you fry them. Carefully press the surface of the poori with a perforated spoon and use it to pour oil over the top too. This should encourage the pooris to rise. Once risen, turn the poori quickly so it doesn't brown too much. Cook on the other side for a few seconds and then lift out of the oil, draining away excess oil.
- Place the poori on a plate lined with paper towels to absorb any excess oil.
- Repeat the rolling and frying process for all the pooris.
Recipe Video
Sanjana’s Notes
- Ensure the oil is at a smoking hot 200°C/400°F throughout the frying process.
- If you need some time to roll the pooris between frying, turn the temperature on the oil down. Bring it back to the correct temperature before frying the next batch.
- Don’t use flour when rolling pooris. The high heat of the oil will cause the excess flour to burn, leaving your oil speckled with burnt flour. Use oil to prevent the dough from sticking to your board and rolling pin, if necessary.
- Don’t be disheartened if the pooris don’t all rise. Strive for an even surface and ensure the oil temperature is high. It comes with practice.
- Poori are best eaten hot.
- If you have leftovers, keep them in an airtight container lined with kitchen towel. Store at room temperature and eat within 24 hours.
Pin it for later!

If you like this, you’ll love my recipe for Paneer Kulcha


Mithila
Sunday 21st of March 2021
I've got to try this! My daughter absolutely loves poori and it's the one thing I've never been able to make properly... It always ends up drinking up all the oil! My roti, naan and paranthas all come out great but this Indian bread never has... Every single recipe just says add water to make a stiff dough, you have given an exact amount of every so I'm sure this time it will come out well!! I can't wait to try it ?. Thank you so much for the recipe...!
Lavs
Wednesday 20th of January 2021
Hi Sanjana,
Can I make the puri dough the night before? If yes, do I put the damp towel as soon as I knead the dough or 30mins before I fry it?
Thanks!
Valana
Tuesday 8th of September 2020
Best puri recipe, it's a no fail recipe and the video instructions make it even easy to understand.